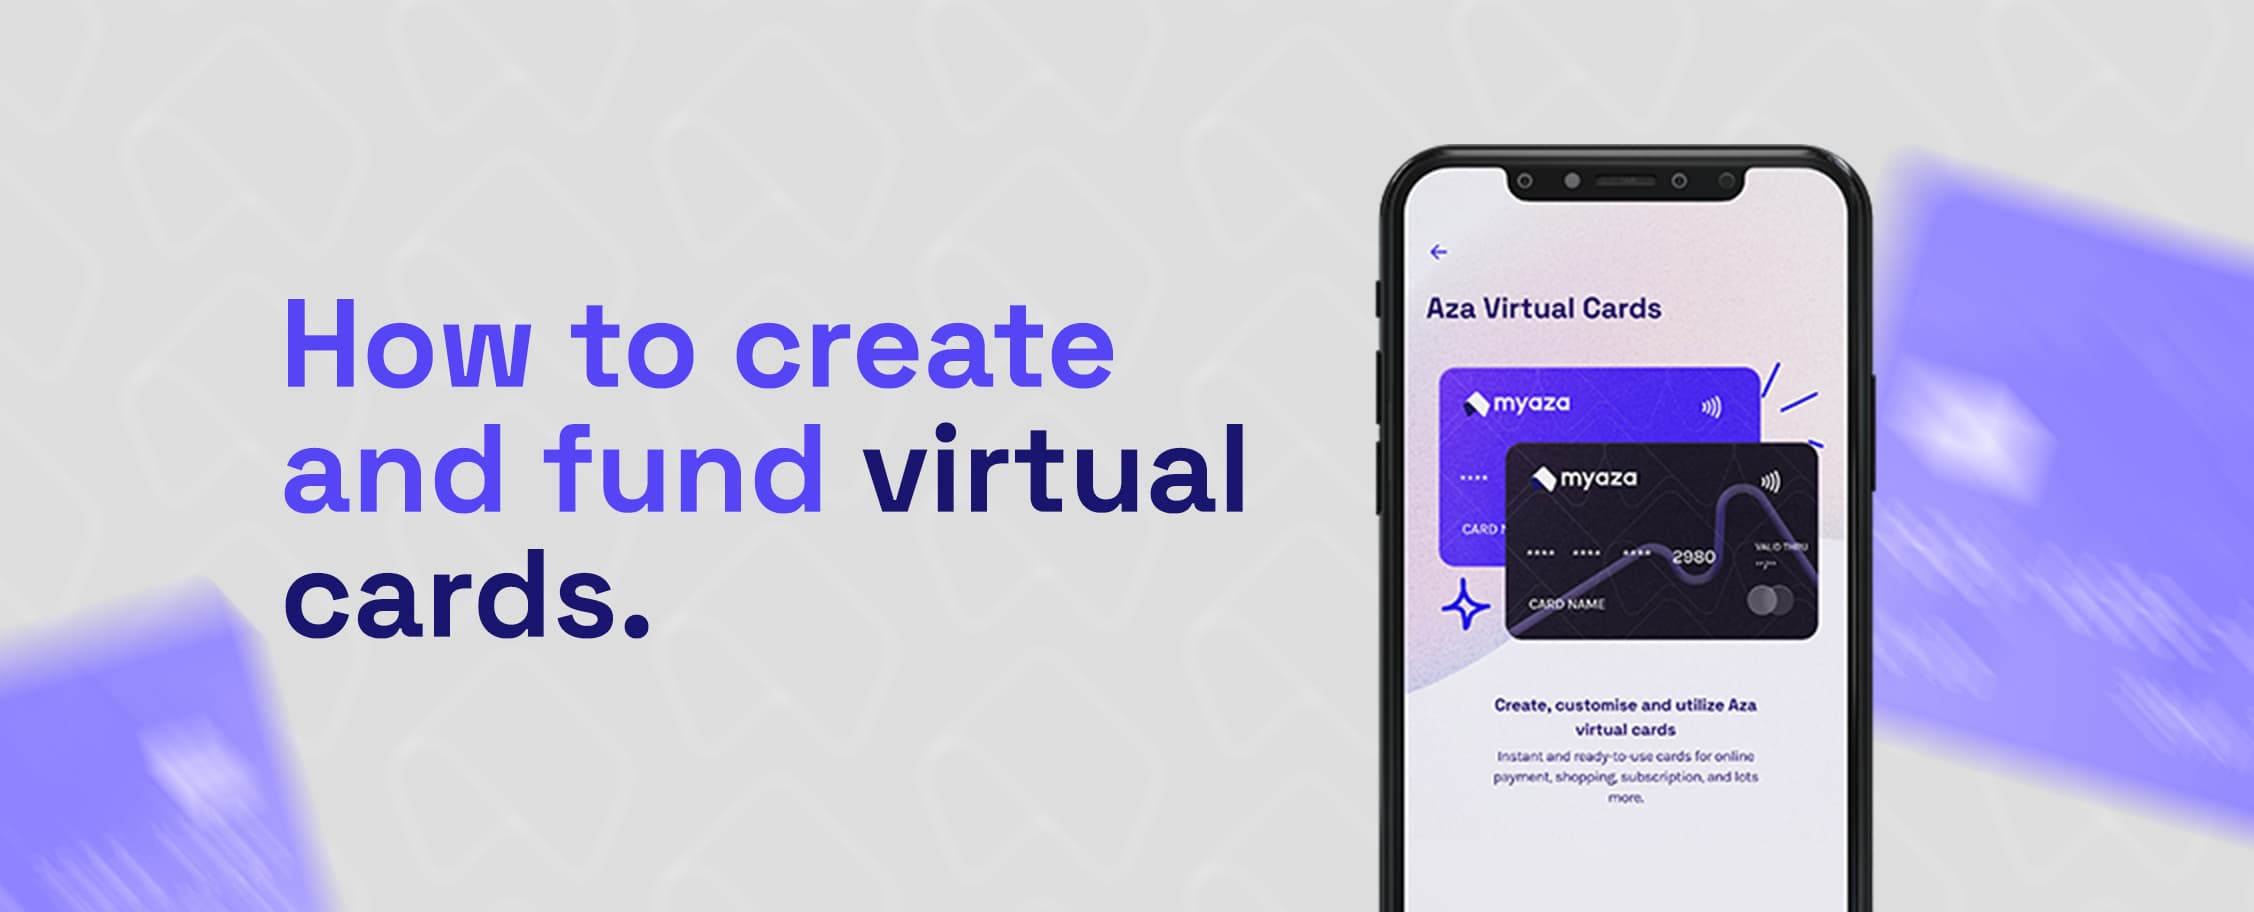
How to create and fund virtual cards

In today's digital world, virtual cards have become an increasingly popular and convenient way to make online payments. Myaza, a leading virtual card provider, offers a seamless process for creating and funding virtual cards. In this blog post, we will walk you through the step-by-step process of funding your virtual card in Myaza, empowering you to make secure and hassle-free online transactions.
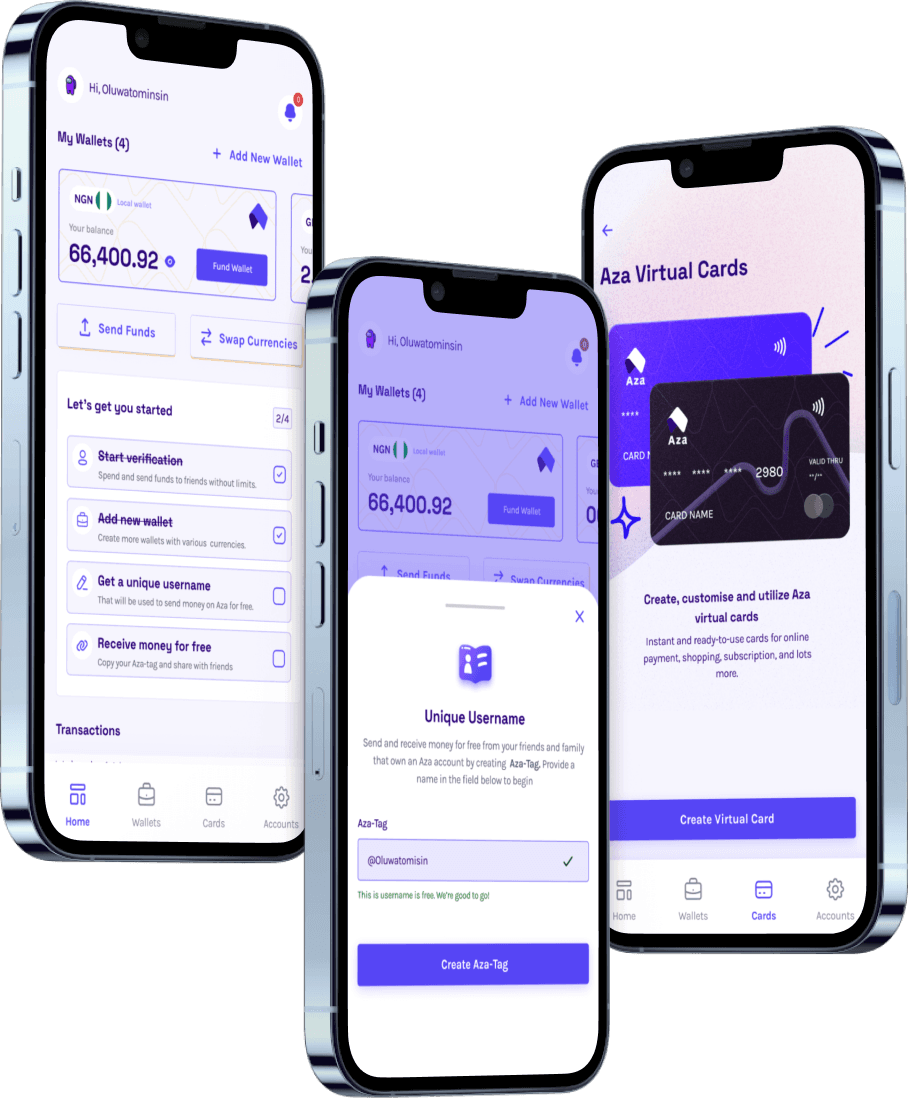
Step 1: Sign Up and Complete KYC Verification: To get started, visit the Myaza website and sign up for an account. Provide the required information and complete the Know Your Customer (KYC) verification process. KYC verification ensures the security and legitimacy of your account, protecting you and the Myaza community from fraudulent activities.
Step 2: Fund Your Local Wallet or USD Wallet: Once you have completed the KYC verification, it's time to fund your wallet in Myaza. Myaza offers two types of wallets: the local wallet and the USD wallet. The local wallet allows you to deposit funds using your local currency, while the USD wallet enables you to hold and transact in US dollars.
To fund your local wallet, follow the instructions provided by Myaza. This typically involves linking your bank account or other payment methods accepted by Myaza and initiating a transfer of funds to your local wallet. If you prefer to transact in US dollars, you can fund your USD wallet by depositing USD directly or converting funds from your local wallet.
Step 3: Create a Virtual Card: Once you have successfully funded your wallet, log in to your Myaza account and navigate to your dashboard. Look for the option to create a virtual card, usually located in the card management section. Click on the relevant button and follow the prompts to generate your virtual card.
Step 4: Assign Funds to Your Virtual Card: With your virtual card created, it's time to assign funds to it. Myaza allows you to transfer funds from your local wallet or USD wallet to your virtual card. Specify the amount you wish to assign, confirm the transaction, and the funds will be loaded onto your virtual card, ready for use.
Step 5: Enjoy Hassle-Free Online Transactions: Congratulations! You have successfully funded your virtual card in Myaza. Your virtual card is now ready to be used for online transactions. Enjoy the convenience and security of making purchases, subscribing to services, and conducting virtual transactions with ease.
Conclusion:
Funding your virtual card in Myaza is a straightforward process that can be completed in a few simple steps. By signing up, completing the KYC verification, funding your wallet, and creating a virtual card, you unlock the benefits of seamless and secure online transactions.
Myaza's user-friendly platform and commitment to security make it an excellent choice for managing your virtual cards and finances. Take advantage of the flexibility and convenience of virtual cards and empower yourself to make hassle-free online payments with Myaza.